A box completed at last

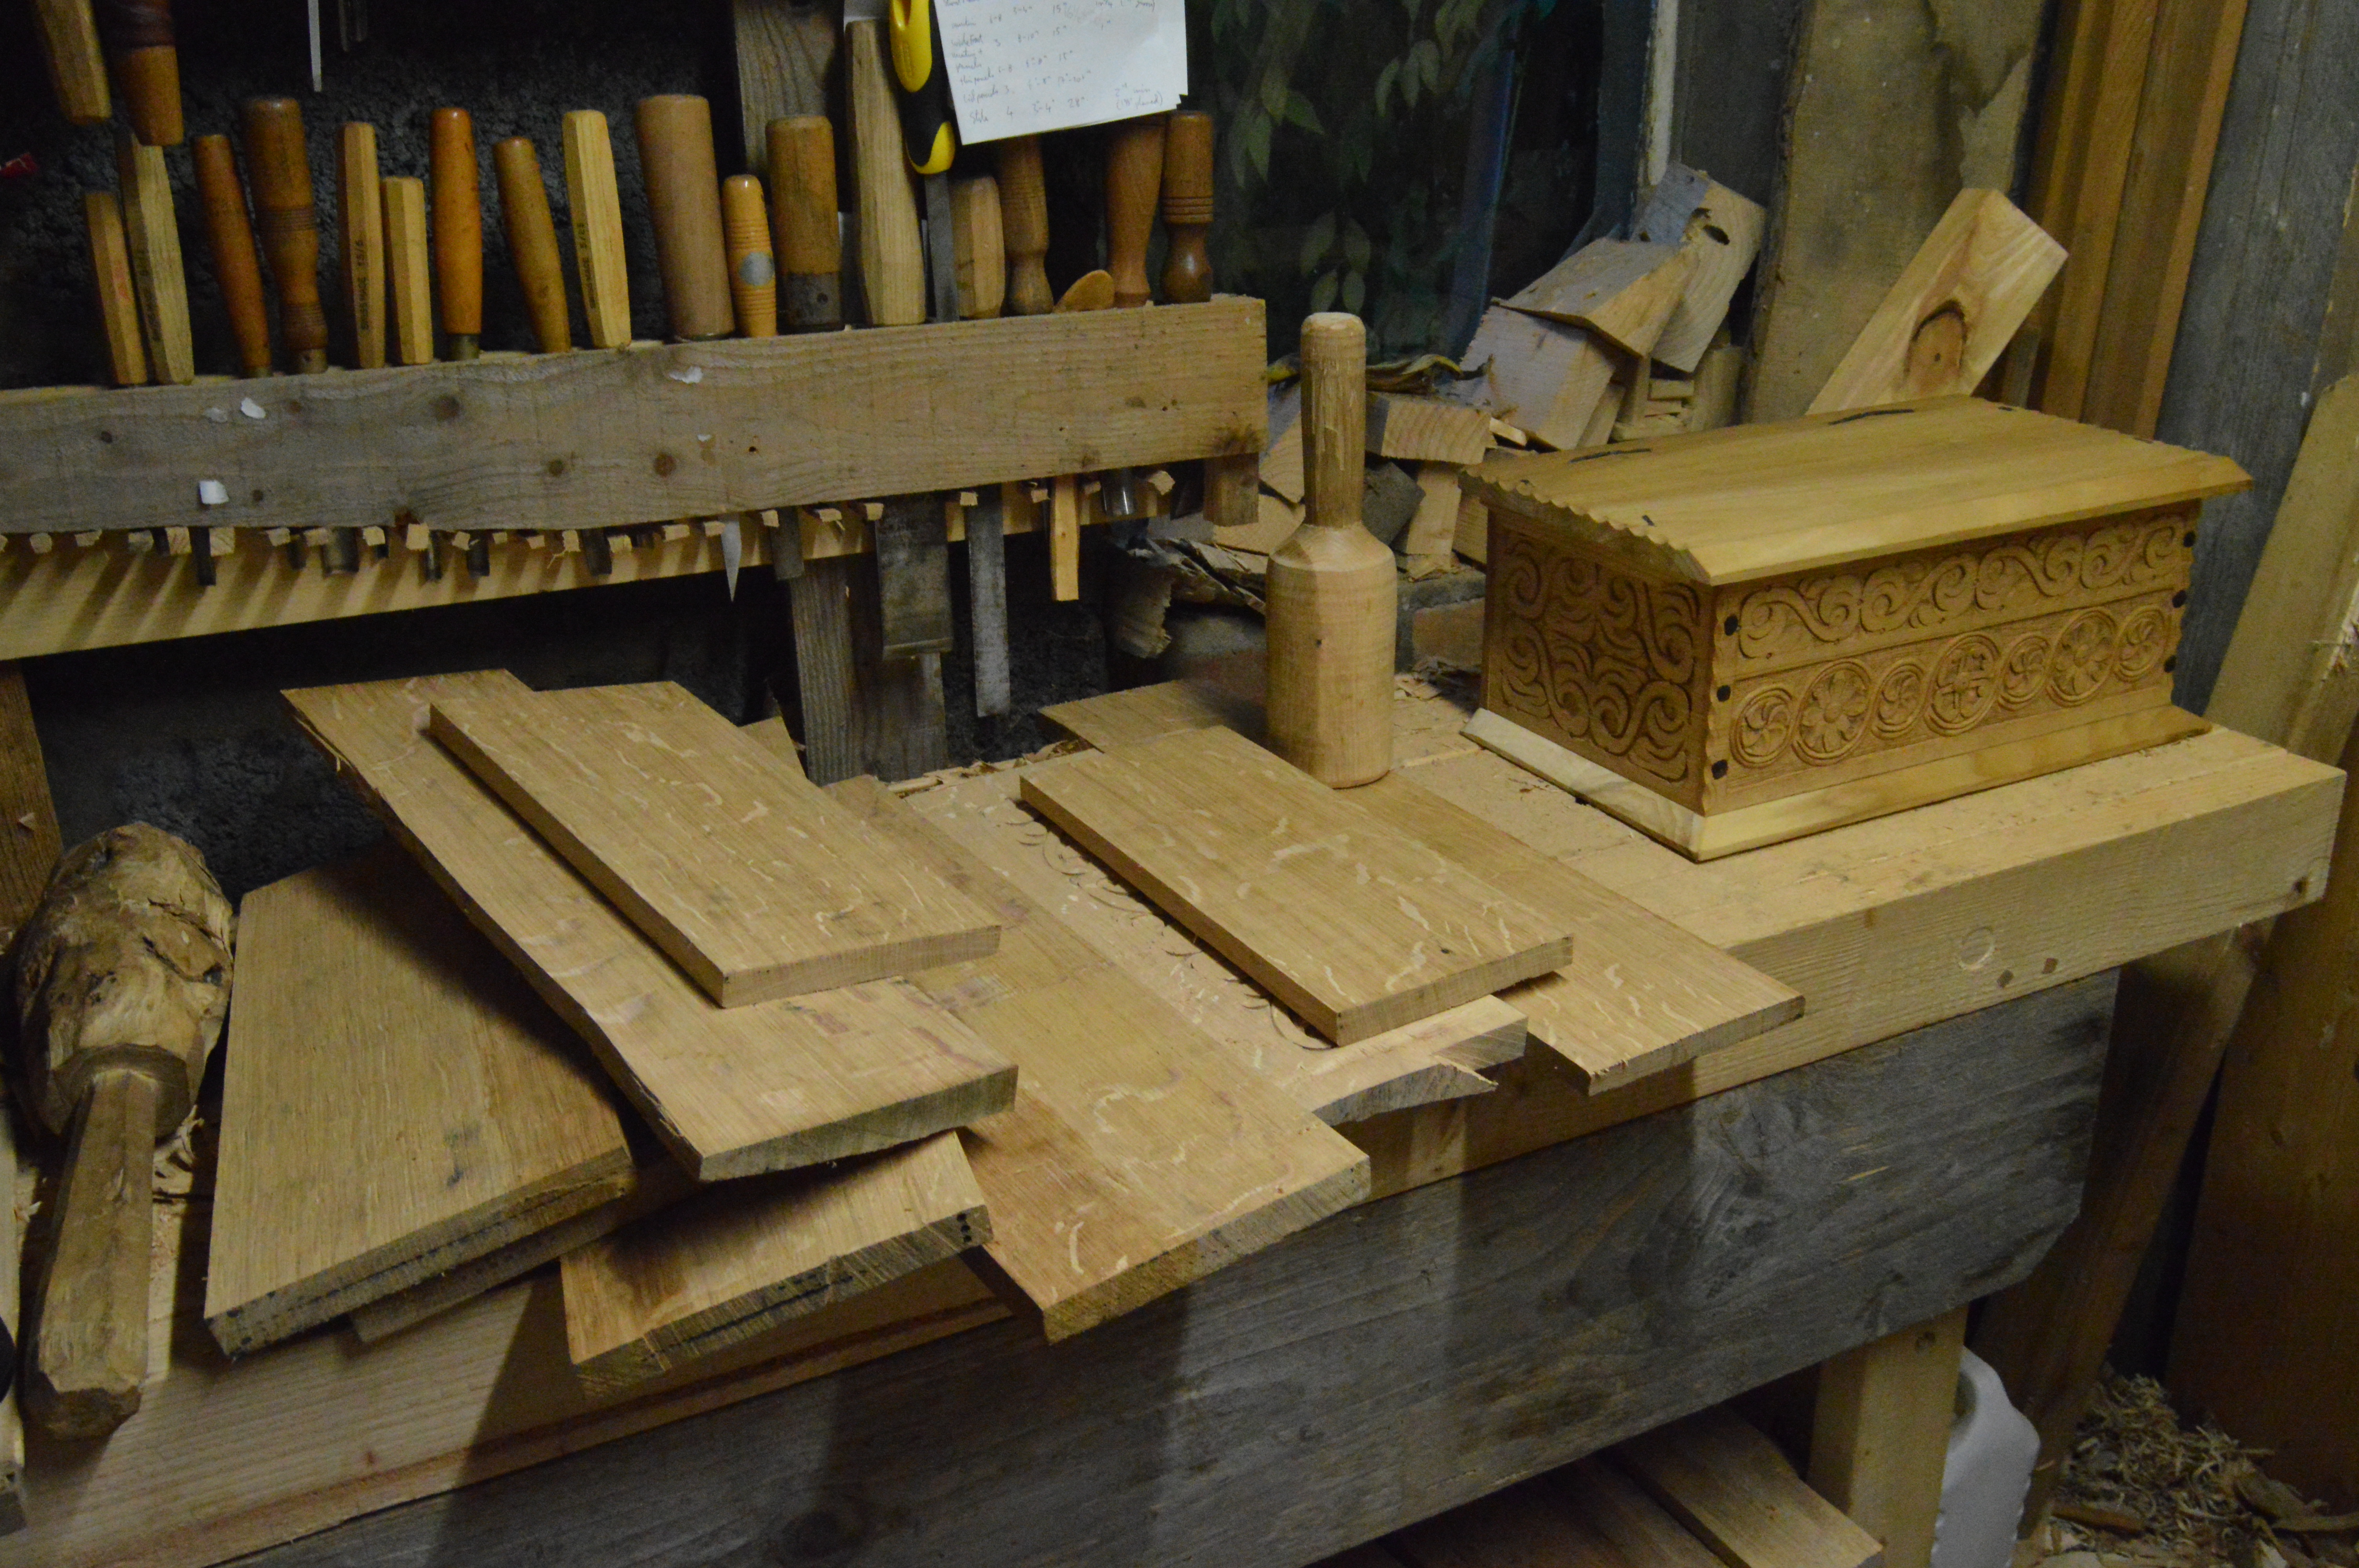
Box bits have been cluttering my shed for ages, so I was delighted to finally nail them together and get rid of one of them into the house.


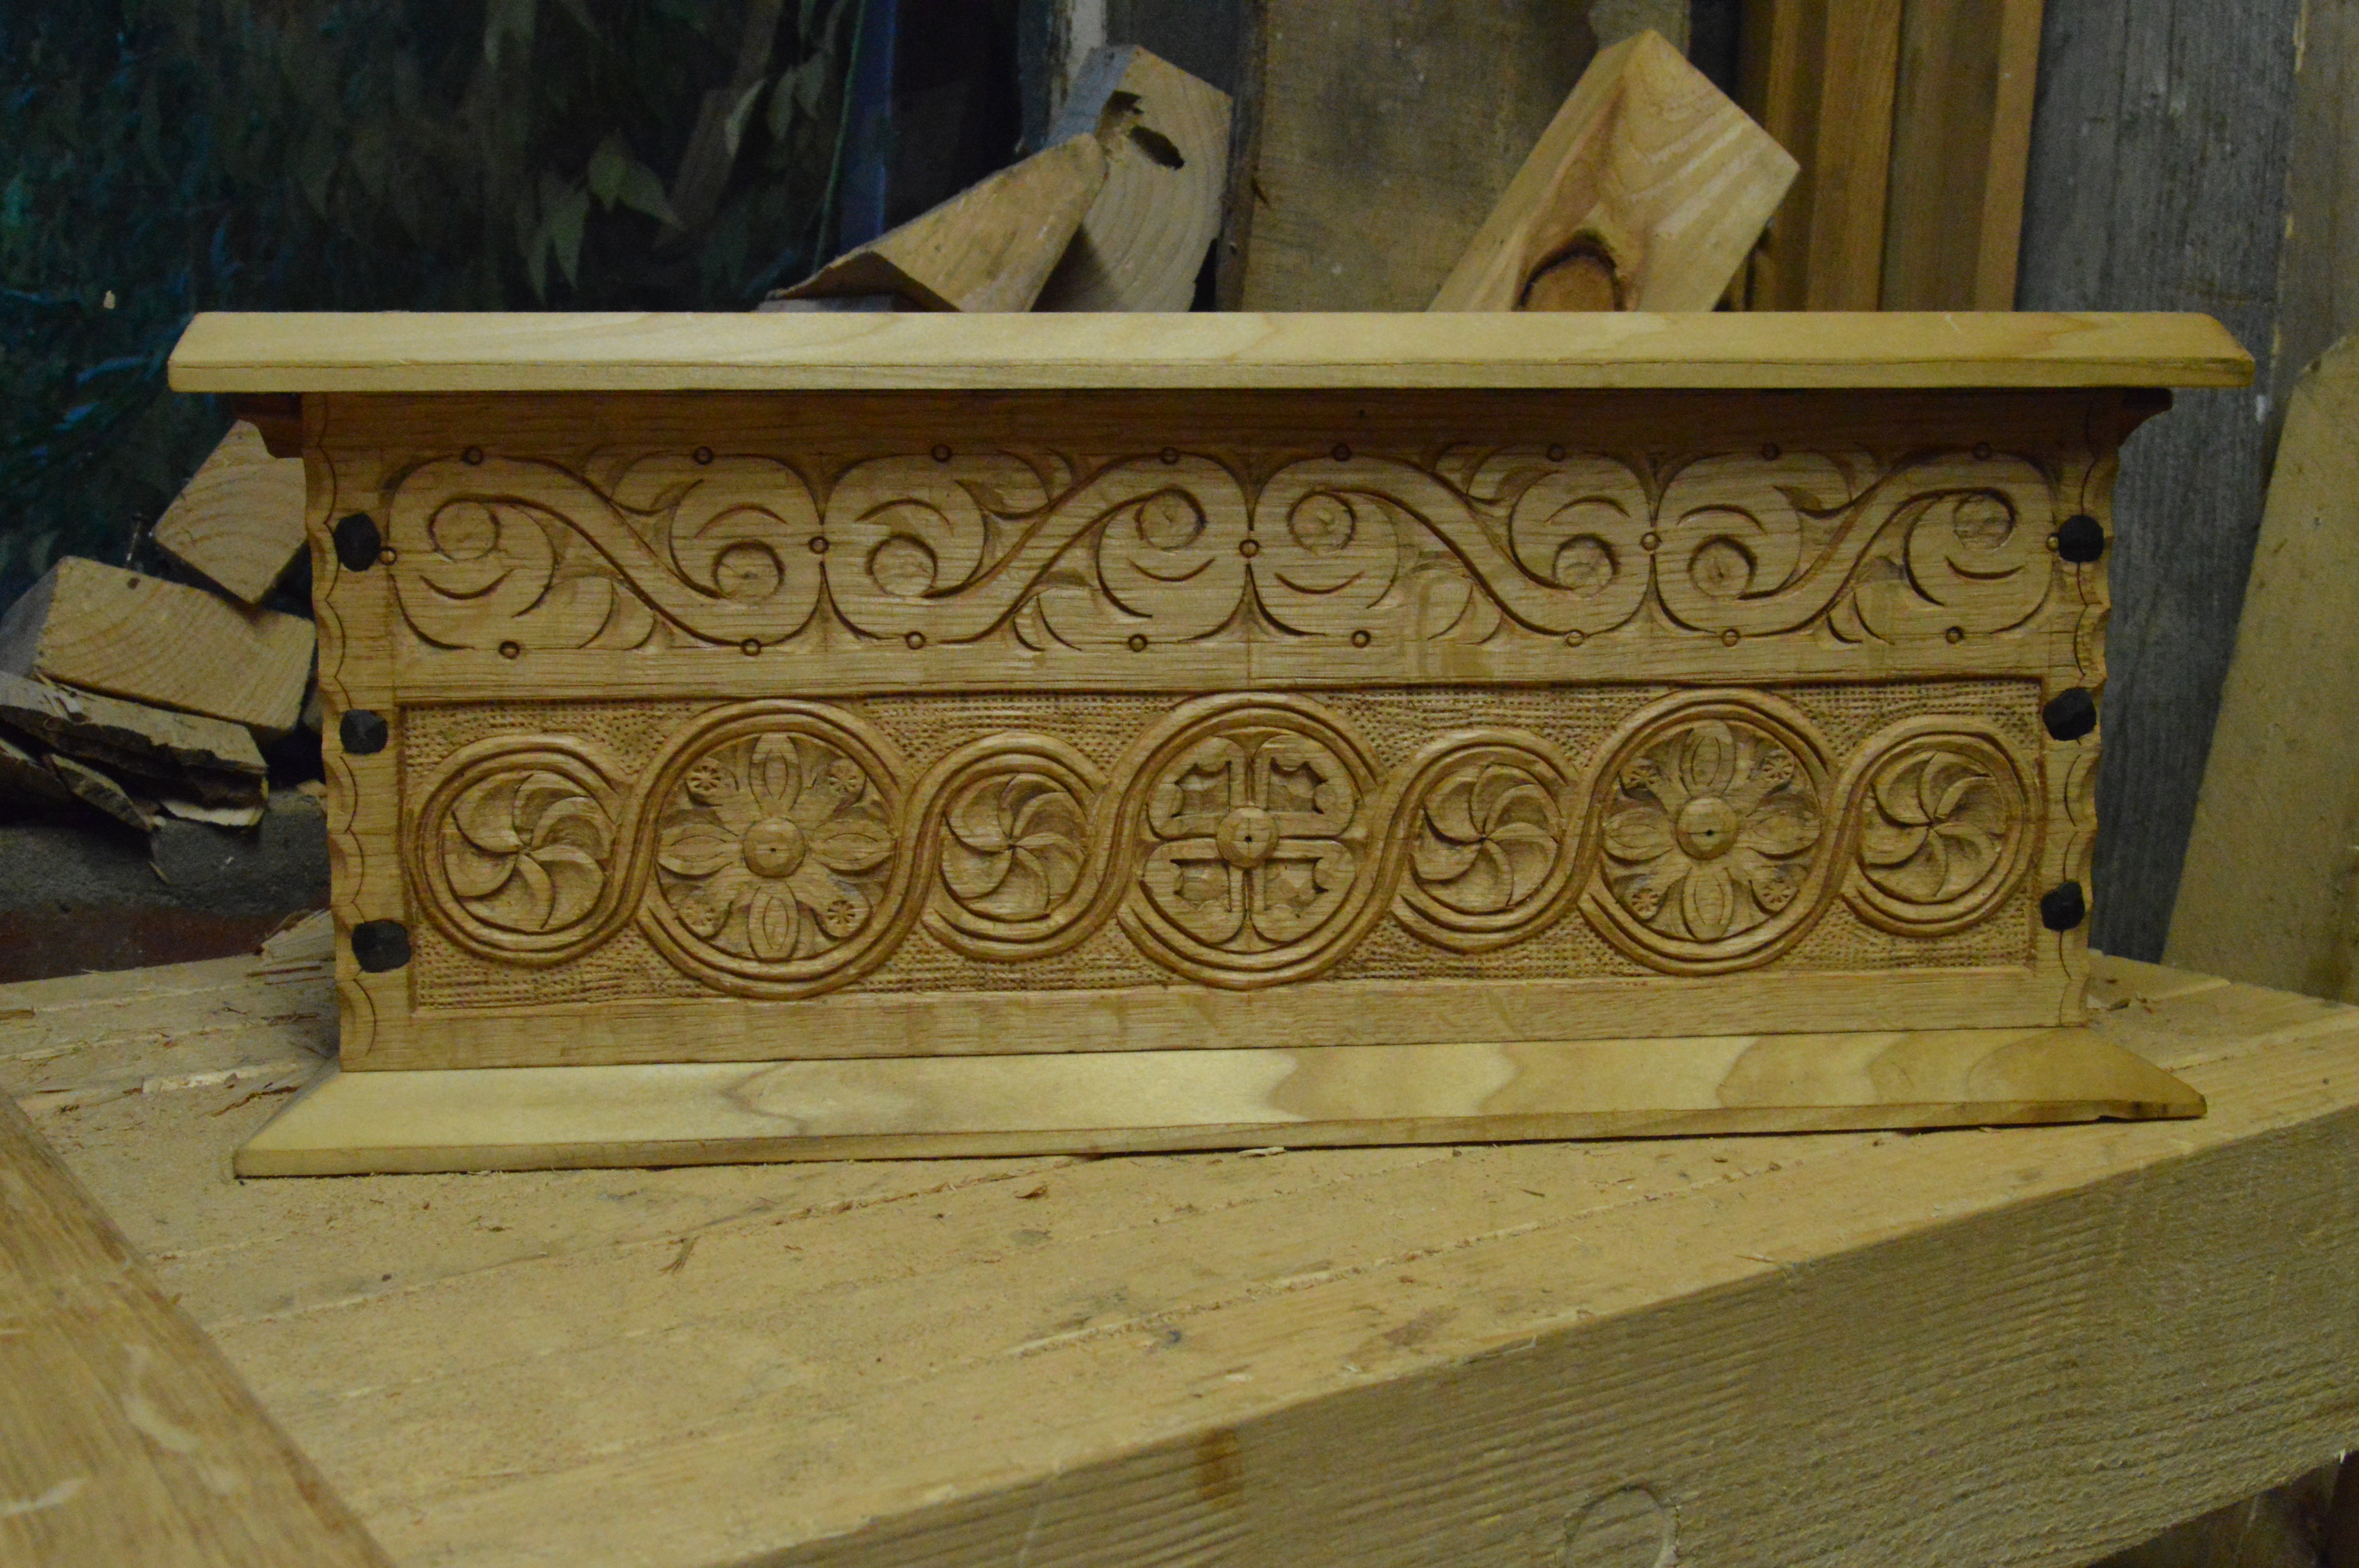
I made a short time lapse of the carving of the box sides, which were lined up side by side. Now that I am familiar with the pattern I will be able to carve all three sides at once. This is very fast and efficient as the chisel cuts in the design repeat very regularly.

Looking at the box the carving stands out as the main element. However, the rest of the construction is very time consuming and fiddly when you’re as disorganised as me. When using wood directly from a split green log there is a lot of work in preparing the stock for each individual plank. Most of the boards in the till were planed down from scrap pieces covered in practice carvings.

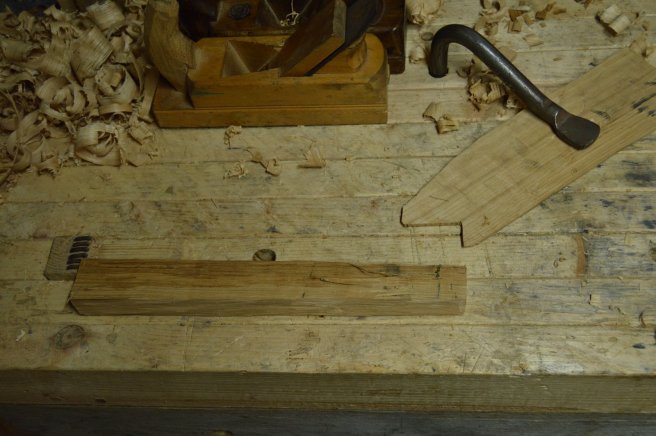
The wide sawn pine boards for the lid and base also have to be flattened and their edges shaped. Cleats nailed to the boards help reduce movement in them. In this case they also attach the lid to the box hinges (pegs projecting from the back board). The only holding devices I have on the whole bench are holdfasts and the planning stop. Happening across a Chris Schwarz post, which refers back to an earlier one from Richard Maguire (sorry lads can’t find the links) detailing a kind of wood pincher board, was very well timed and a big help. This little trick essentially removes any vague need I thought I had for a tail vice. I like that my bench is basically a block of wood with some holes in it and I plan to keep it that way until a job absolutely necessitates new bench appendages.

5-DSC_0386

Lastly, photos of the finished box. I rarely try and take good quality pictures of my work so I took a few extra ones of other turned work that was to hand while I was at it.

This slideshow requires JavaScript.

Strapwork day 2

Against the odds I managed to get in the shed for a second day in a row today and advance on the carving from the practice runs yesterday. This time I was working on the front board of a big box and it is the very last bit of oak I have left until I buy another tree. So I was twoing and froing lots before finally striking some chisels into it today.

I was able to adapt the practice carvings from yesterday directly onto the board, using them as a reference as I went. Here are a series of photo’s showing how the layout advanced. After initially being terrified of making a mistake and going very slowly, I started to get a feel for the repetition in the pattern and it flowed smoothly. I can imagine back in the day these were made at high speed.

After everything is struck out with the chisels the last task is to remove all the background. That is when the whole pattern comes alive. It is ridiculous it has taken me a year since going on the course with Peter Follansbee to do this but better late than never. I am massively indebted to him for the way he has made this woodwork accessible to amateurs like me.

DSC_0085


Hewing axe

Here is a short video of my main hewing axe in action. It works beautifully due to the efficient distribution of steel in the head, and very very slight convexities on the back of the blade, which at first glance appears completely flat. Follansbee explains it better with a steel rule against the back of one of his axes: https://pfollansbee.wordpress.com/2012/12/13/the-endless-look-at-hewing-hatchets/

The set-up is not ideal, I would not recommend a low unsteady chopping block like that (notice my right leg twitching…). However I have been using axes constantly for years now, mostly for axing out bowl blanks, so know how to make this work safely. If I have 30 mins spare some time I’ll put 3 stout legs on that block of wood though.

Boscaí

As I mentioned in my last post the next stage for the big chest is carving the rails and panels. Choosing the specific carvings and then committing to chopping them into the front of my rails is a bit intimidating. That’s why I’m taking a break from the chest to work on the boards for two boxes, into which I will carve some practice designs for the chest.

I felt extremely lucky this summer to have the opportunity to spend a week with Peter Follansbee learning his approach to box making and carving. His post about the course is here: https://pfollansbee.wordpress.com/2015/07/27/england-2015/. This was down in Somerset in July and so came just in time to prepare me for the carving work on my chest. I learnt a huge amount, mostly details relating to specific tool skills that would be very difficult to develop without guidance.

I recently oiled the box I made while on the course in Somerset, and took it out to the shed this afternoon to use it as a kind of dictionary of all the techniques I learnt that week.

Boards for two boxes on the left
Boards for two boxes on the left.

DSC_0635

Squashed s-scrolls on the box ends
Carving started for the side of one box. I plan to have vertical s-scrolls along the top rail of the chest.